Product SiteDocumentation Site

Chapter 3. Guest operating system installation procedures

3.1. Installing Red Hat Enterprise Linux 5 as a para-virtualized guest
3.2. Installing Red Hat Enterprise Linux as a fully virtualized guest
3.3. Installing Windows XP as a fully virtualized guest
3.4. Installing Windows Server 2003 as a fully virtualized guest
3.5. Installing Windows Server 2008 as a fully virtualized guest
This chapter covers how to install various guest operating systems in a virtualized environment on Fedora. To understand the basic processes, refer to Chapter 2, Virtualized guest installation overview.

3.1. Installing Red Hat Enterprise Linux 5 as a para-virtualized guest

This section describes how to install Red Hat Enterprise Linux 5 as a para-virtualized guest. Para-virtualization is a faster than full virtualization and supports all of the advantages of full virtualization. Para-virtualization requires a special, supported kernel, the kernel-xen kernel.

Important note on para-virtualization

Para-virtualization only works with the Xen hypervisor. Para-virtualization does not work with the KVM hypervisor.
Ensure you have root access before starting the installation.
This method installs Red Hat Enterprise Linux from a remote server. The installation instructions presented in this section are similar to installing from the minimal installation live CD-ROM.
Create para-virtualized Red Hat Enterprise Linux 5 guests using virt-manager or virt-install. For instructions on virt-manager, refer to the procedure in Section 2.2, “Creating guests with virt-manager”.
Create a para-virtualized guest with the command line based virt-install tool. The --vnc option shows the graphical installation. The name of the guest in the example is rhel5PV, the disk image file is rhel5PV.dsk and a local mirror of the Red Hat Enterprise Linux 5 installation tree is ftp://10.1.1.1/trees/CentOS5-B2-Server-i386/. Replace those values with values accurate for your system and network.
# virt-install -n rhel5PV -r 500 \
-f /var/lib/libvirt/images/rhel5PV.dsk -s 3 --vnc -p \
-l ftp://10.1.1.1/trees/CentOS5-B2-Server-i386/

Automating installation

Red Hat Enterprise Linux can be installed without a graphical interface or manual input. Use Kickstart files to automate the installation process.
Using either method opens this window, displaying the initial boot phases of your guest:
After your guest has completed its initial boot, the standard installation process for Red Hat Enterprise Linux starts. For most systems the default answers are acceptable.
Procedure 3.1. Para-virtualized Red Hat Enterprise Linux guest installation procedure
  1. Select the language and click OK.
  2. Select the keyboard layout and click OK.
  3. Assign the guest's network address. Choose to use DHCP (as shown below) or a static IP address:
  4. If you select DHCP the installation process will now attempt to acquire an IP address:
  5. If you chose a static IP address for your guest this prompt appears. Enter the details on the guest's networking configuration:
    1. Enter a valid IP address. Ensure the IP address you enter can reach the server with the installation tree.
    2. Enter a valid Subnet mask, default gateway and name server address.
    Select the language and click OK.
  6. This is an example of a static IP address configuration:
  7. The installation process now retrieves the files it needs from the server:
Once the initial steps are complete the graphical installation process starts.
If you are installing a Beta or early release distribution confirm that you want to install the operating system. Click Install Anyway, and then click OK:
Procedure 3.2. The graphical installation process
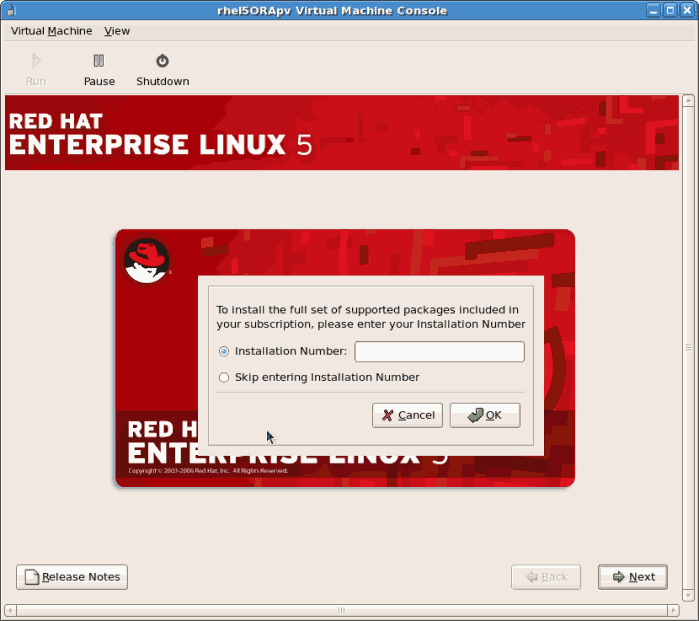
  1. Enter a valid registration code. If you have a valid RHN subscription key please enter in the Installation Number field:

    Note

    If you skip the registration step the you can confirm your fedora Network account details after the installation with the rhn_register command. The rhn_register command requires root access.
    # rhn_register
    
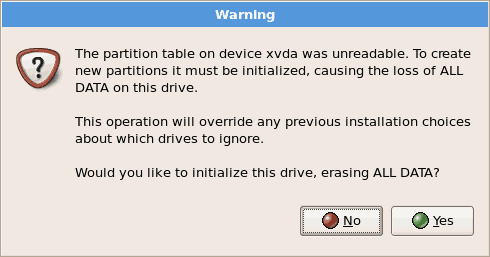
  2. The installation prompts you to confirm erasure of all data on the storage you selected for the installation:
    Click Yes to continue.
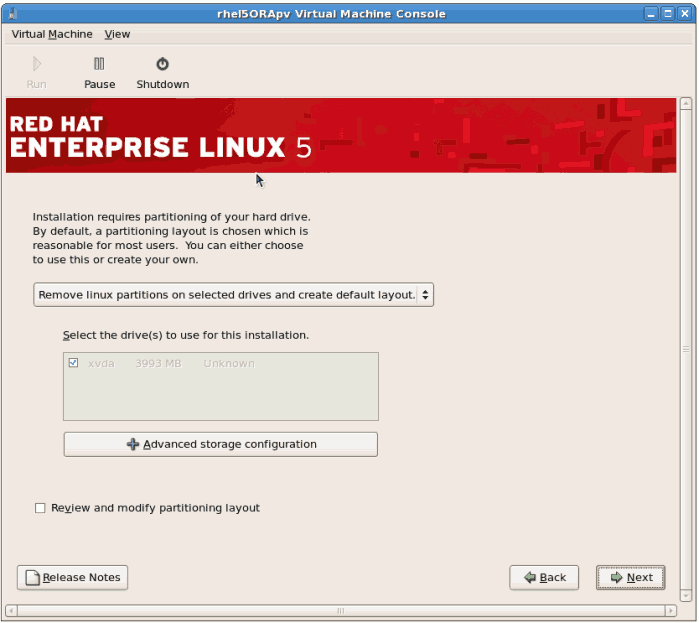
  3. Review the storage configuration and partition layout. You can chose to select the advanced storage configuration if you want to use iSCSI for the guest's storage.
    Make your selections then click Next.
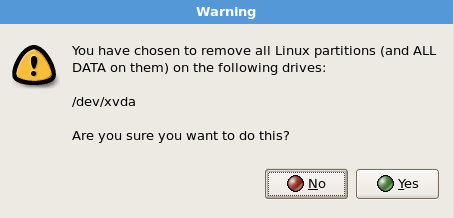
  4. Confirm the selected storage for the installation.
    Click Yes to continue.
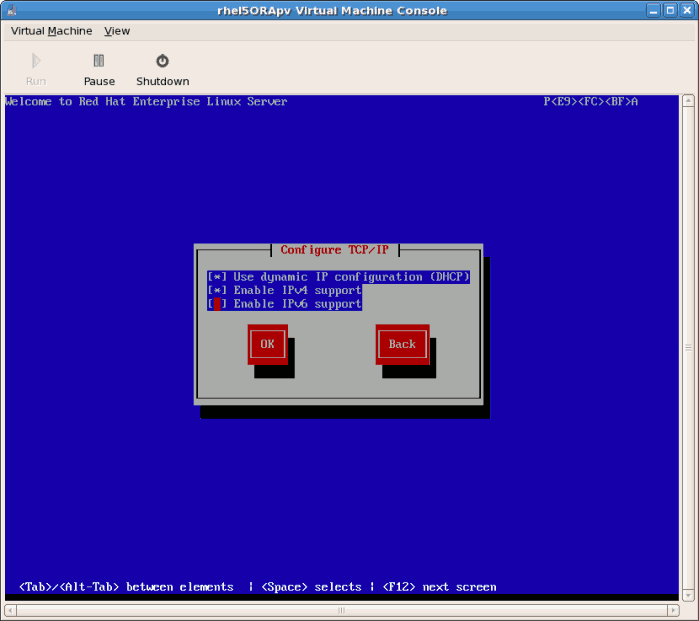
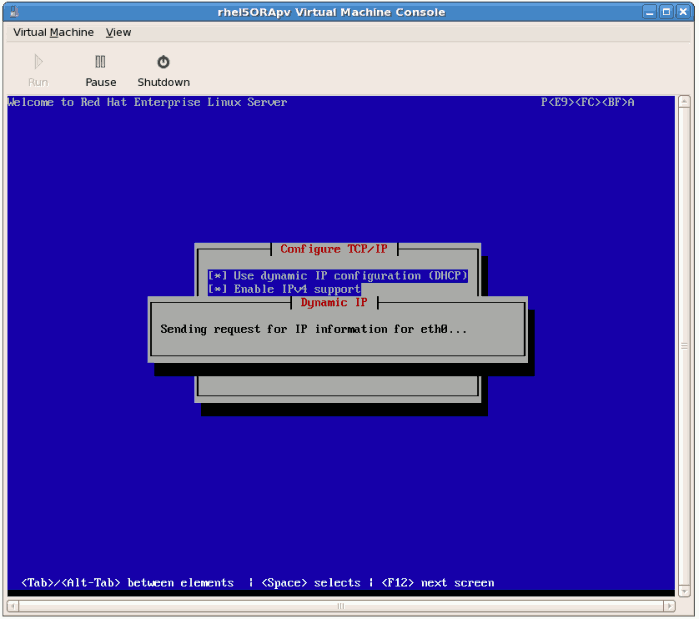
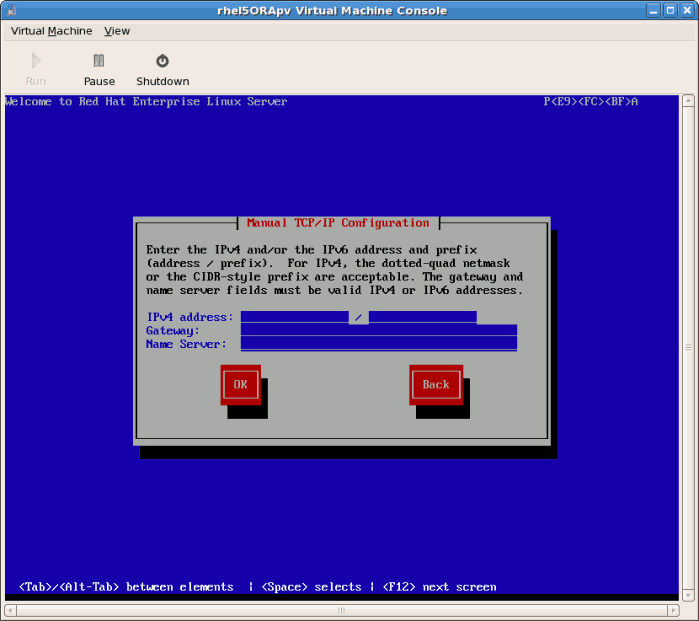
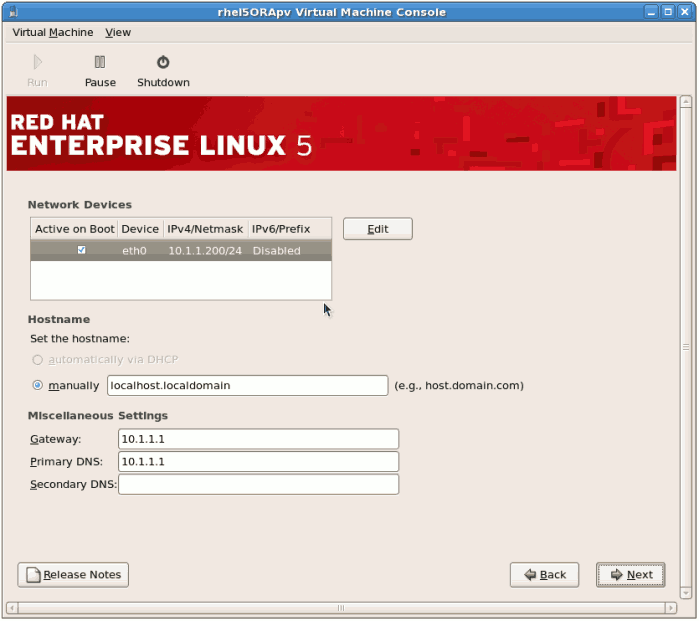
  5. Configure networking and hostname settings. These settings are populated with the data entered earlier in the installation process. Change these settings if necessary.
    Click OK to continue.
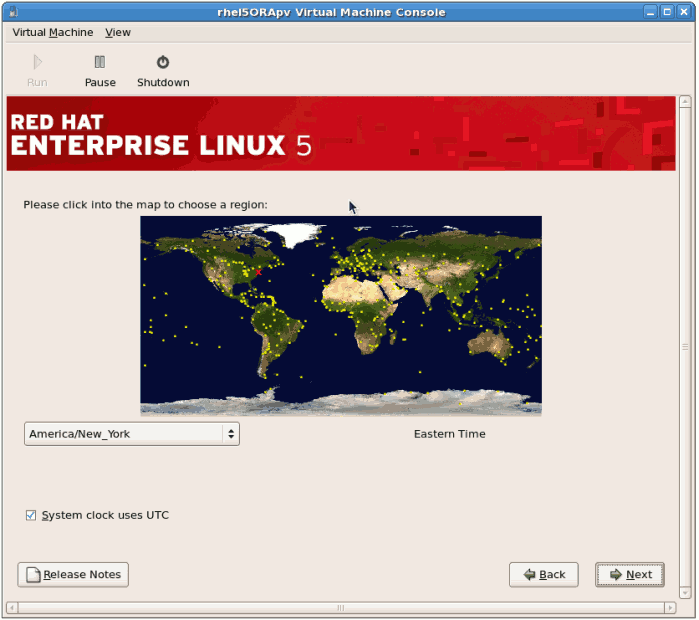
  6. Select the appropriate time zone for your environment.
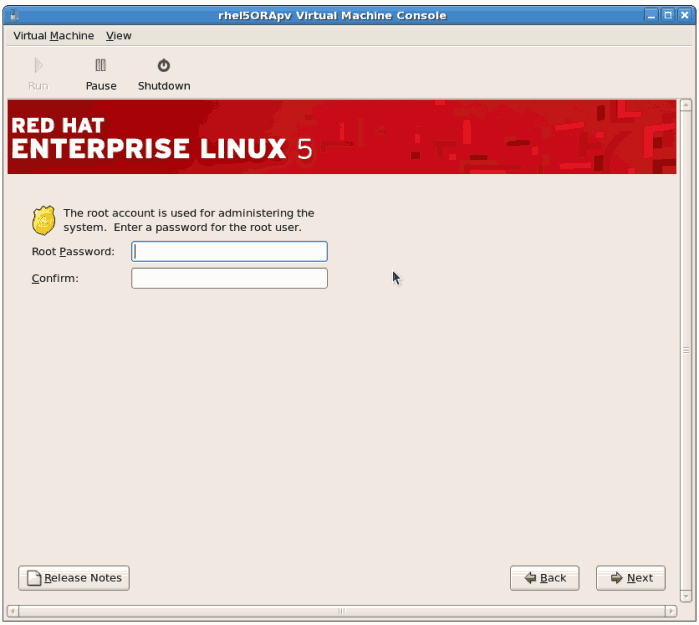
  7. Enter the root password for the guest.
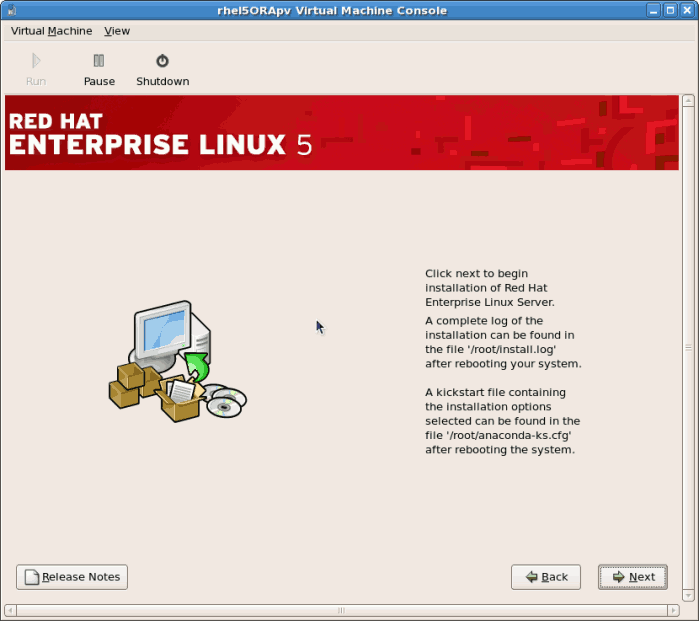
    Click Next to continue.
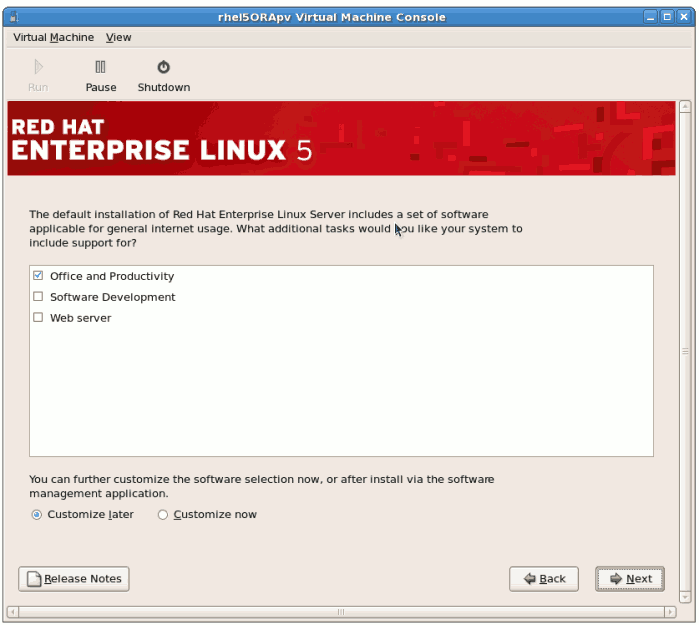
  8. Select the software packages to install. Select the Customize Now button. You must install the kernel-xen package in the System directory. The kernel-xen package is required for para-virtualization.
    Click Next.
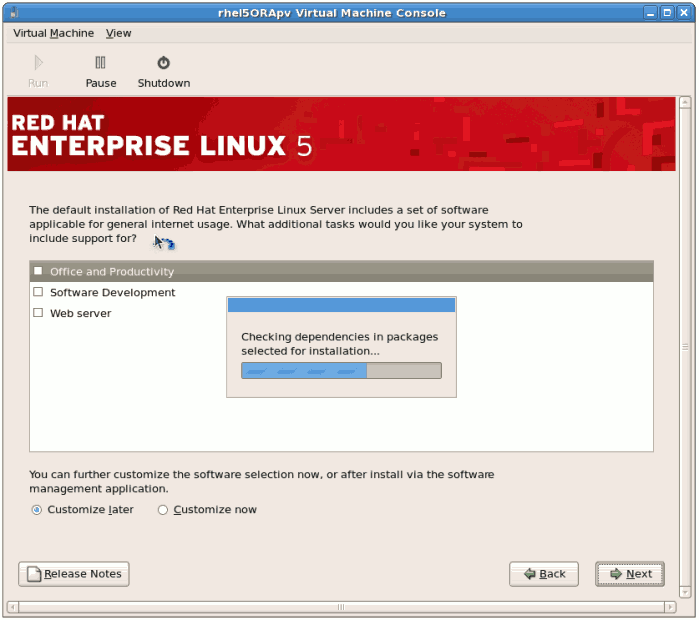
  9. Dependencies and space requirements are calculated.
  10. After the installation dependencies and space requirements have been verified click Next to start the actual installation.
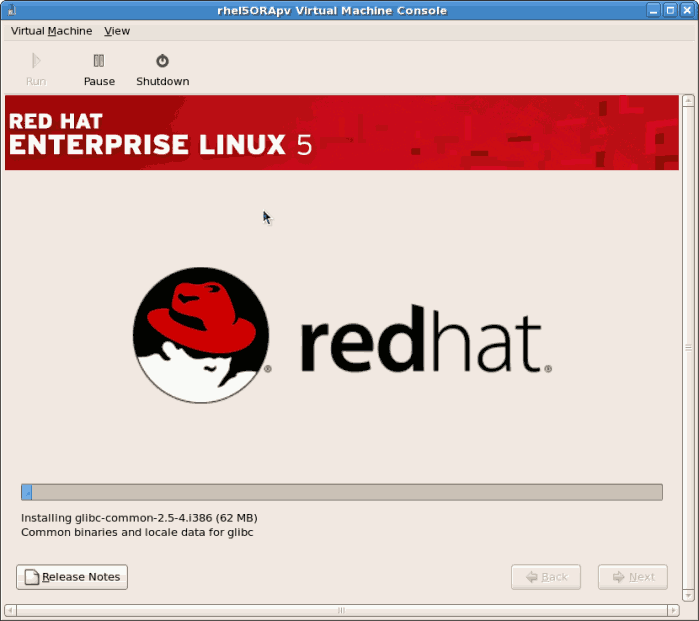
  11. All of the selected software packages are installed automatically.
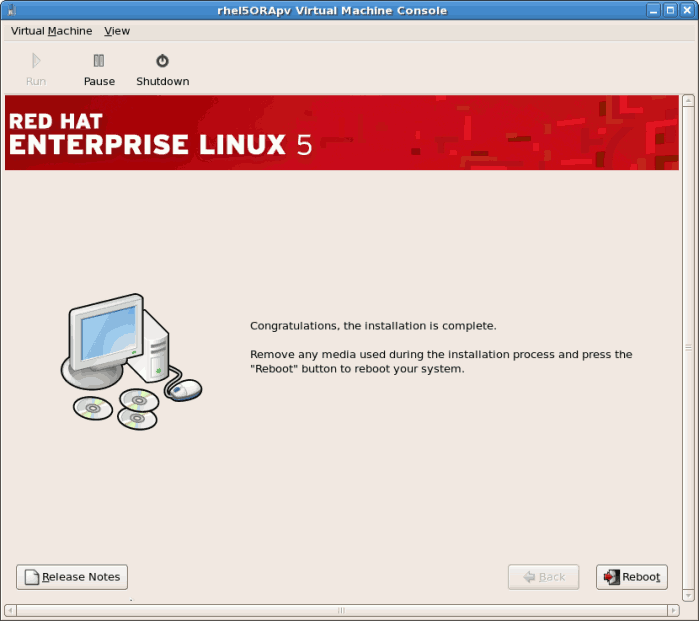
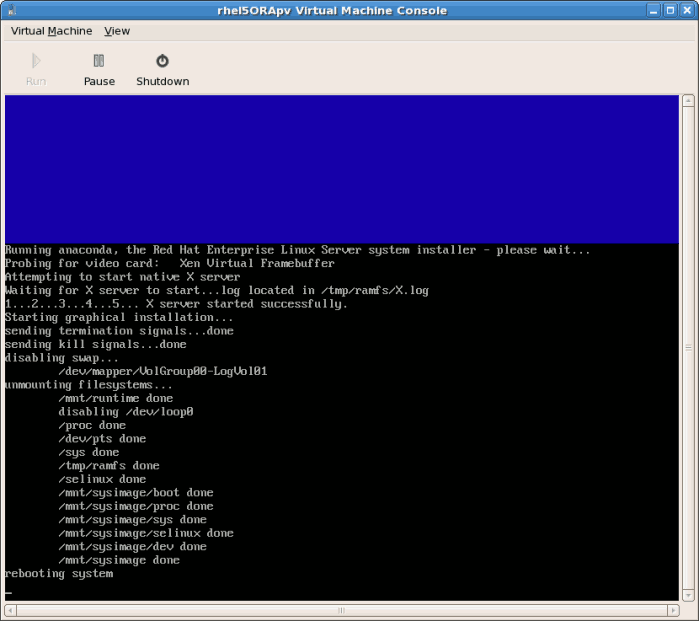
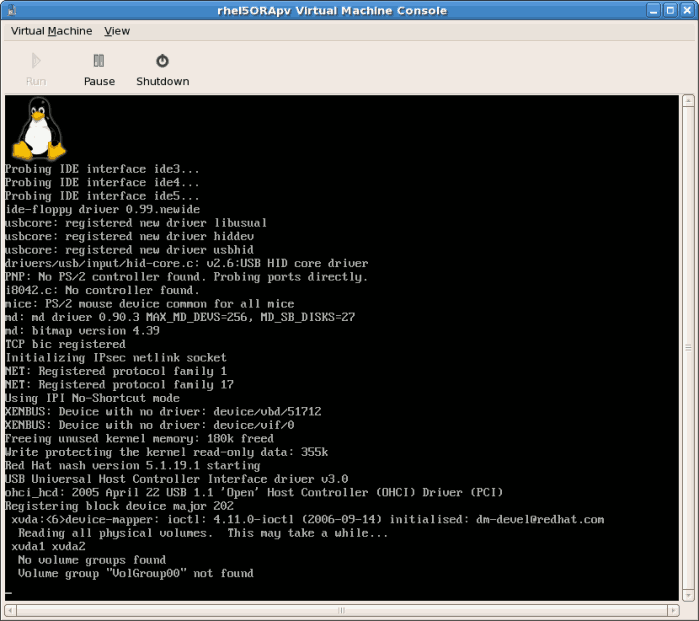
  12. After the installation has finished reboot your guest:
  13. The guest will not reboot, instead it will shutdown..
  14. Boot the guest. The guest's name was chosen when you used the virt-install in Section 3.1, “Installing Red Hat Enterprise Linux 5 as a para-virtualized guest”. If you used the default example the name is rhel5PV.
    Run:
    virsh reboot rhel5PV
    
    Alternatively, open virt-manager, select the name of your guest, click Open, then click Run.
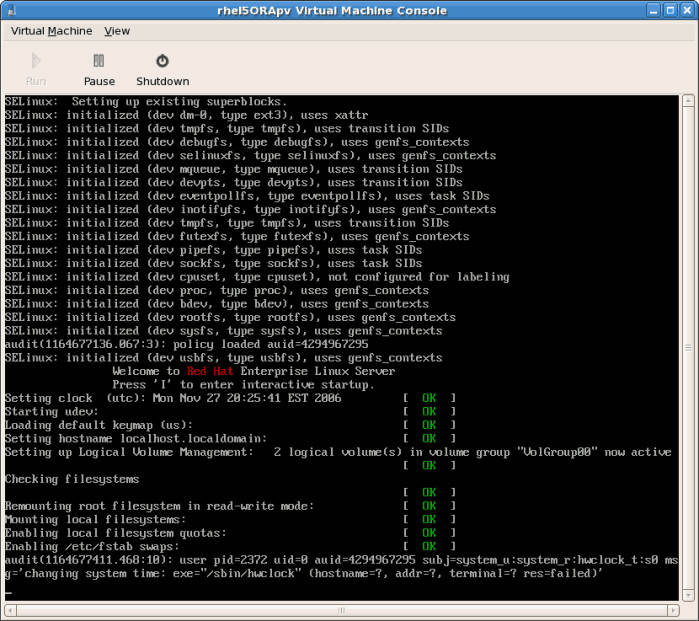
    A VNC window displaying the guest's boot processes now opens.
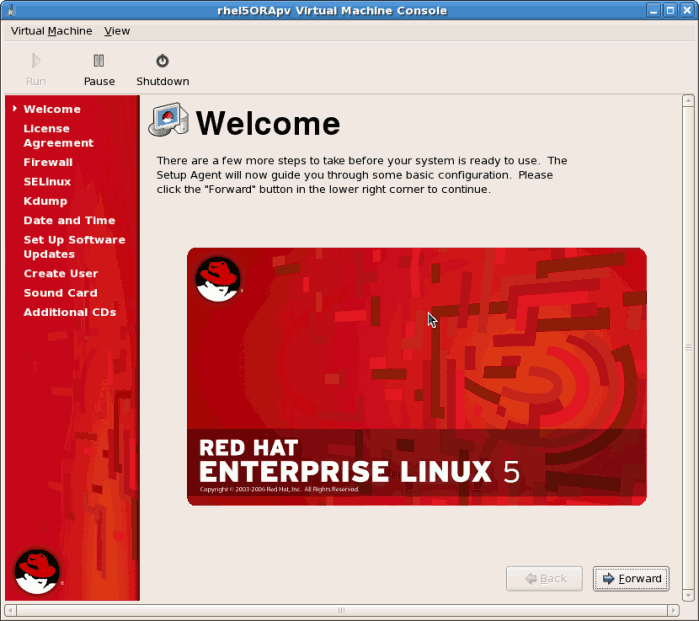
  15. Booting the guest starts the First Boot configuration screen. This wizard prompts you for some basic configuration choices for your guest.
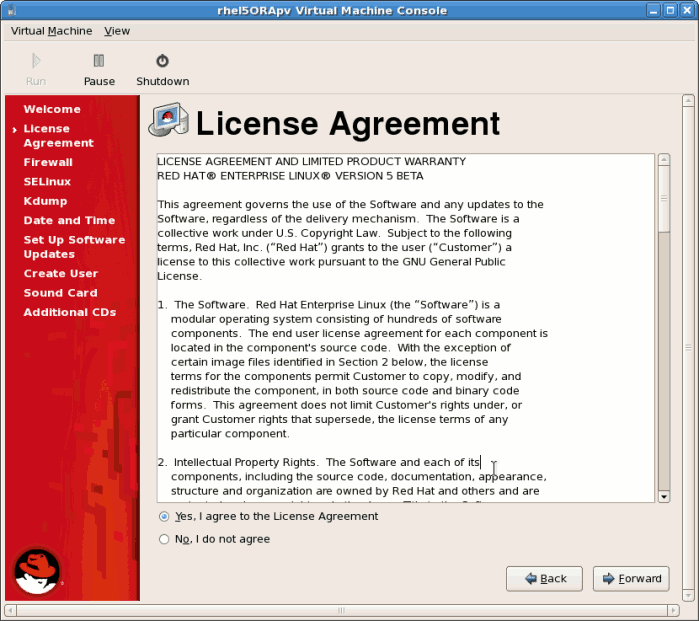
  16. Read and agree to the license agreement.
    Click Forward on the license agreement windows.
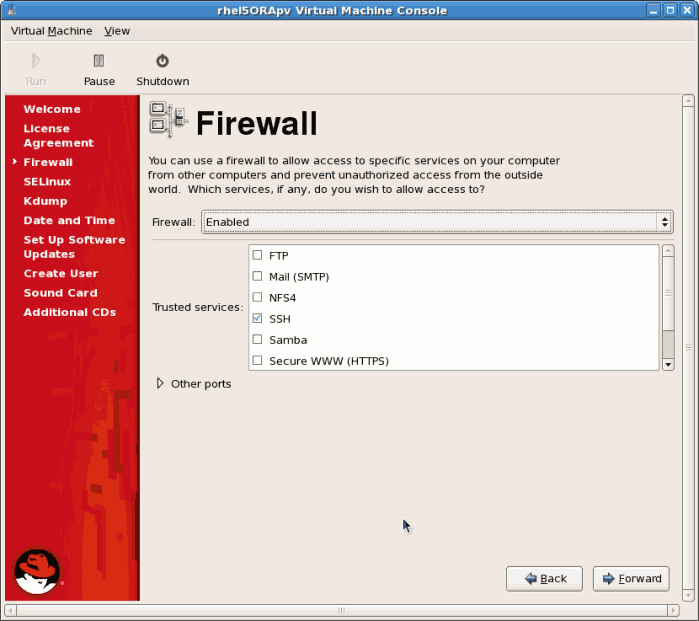
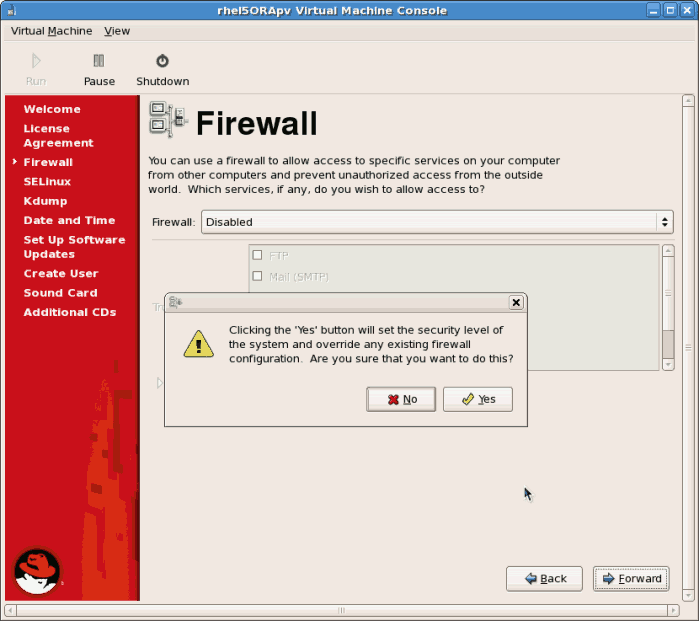
  17. Configure the firewall.
    Click Forward to continue.
    1. If you disable the firewall prompted to confirm your choice. Click Yes to confirm and continue.
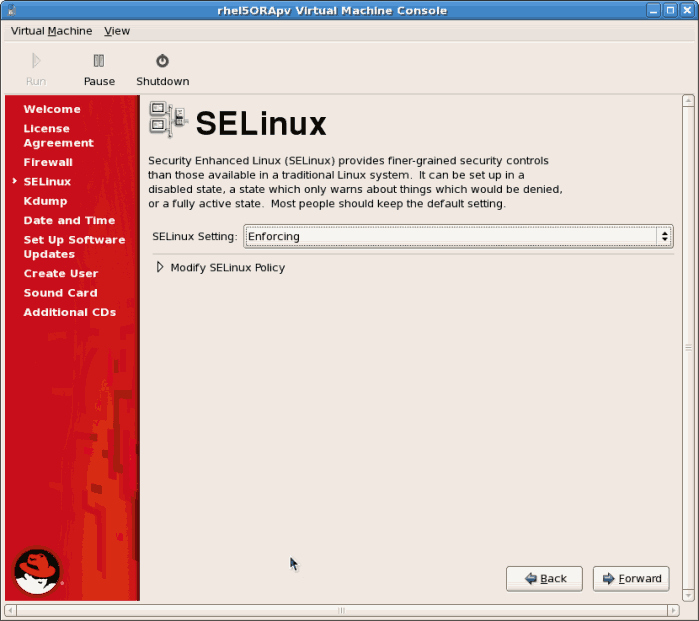
  18. Configure SELinux. It is strongly recommended you run SELinux in enforcing mode. You can choose to either run SELinux in permissive mode or completely disable it.
    Click Forward to continue.
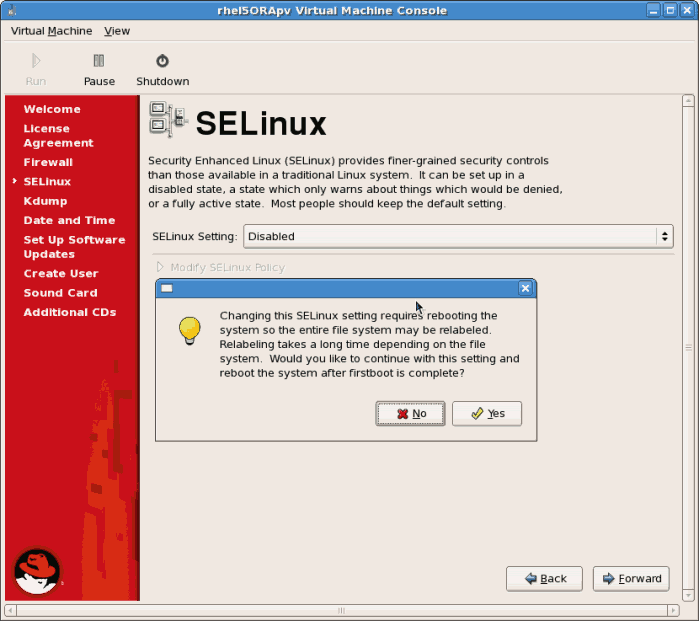
    1. If you choose to disable SELinux this warning displays. Click Yes to disable SELinux.
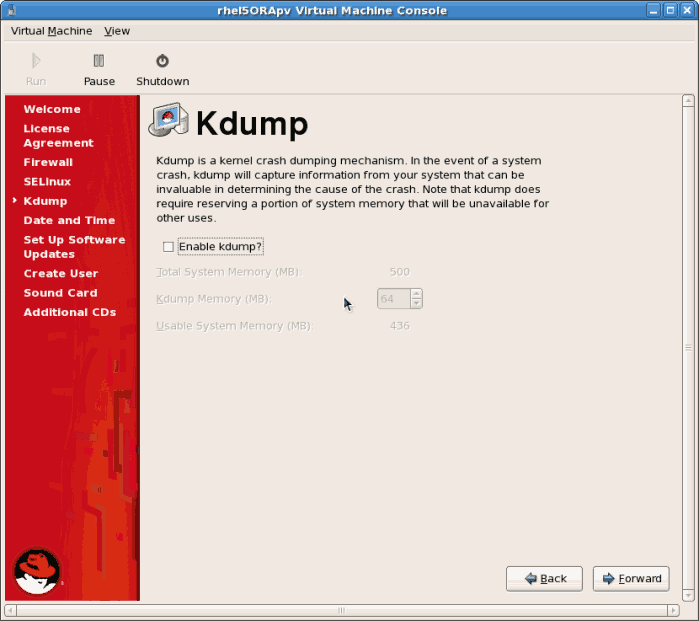
  19. Enable kdump if necessary.
    Click Forward to continue.
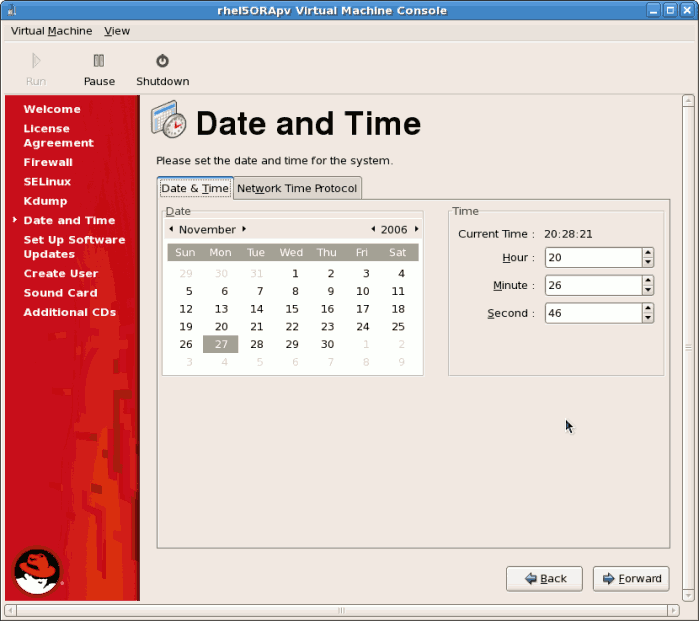
  20. Confirm time and date are set correctly for your guest. If you install a para-virtualized guest time and date should sync with the hypervisor.
    Click Forward to continue.
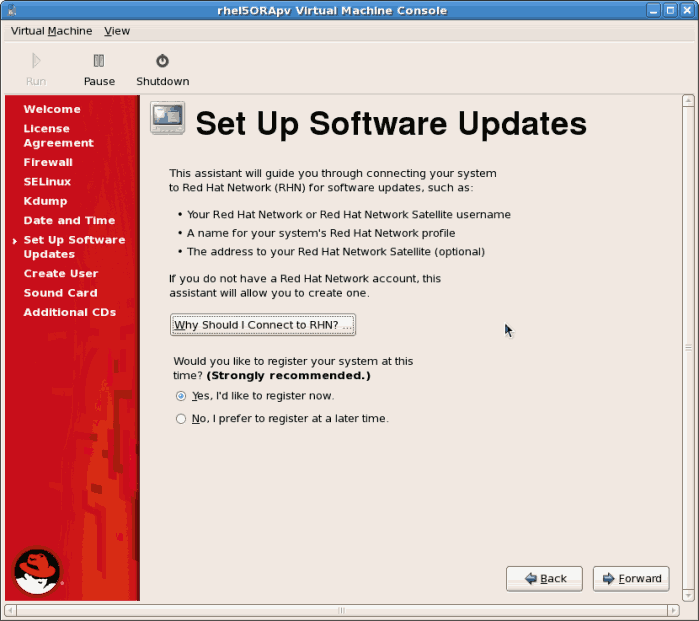
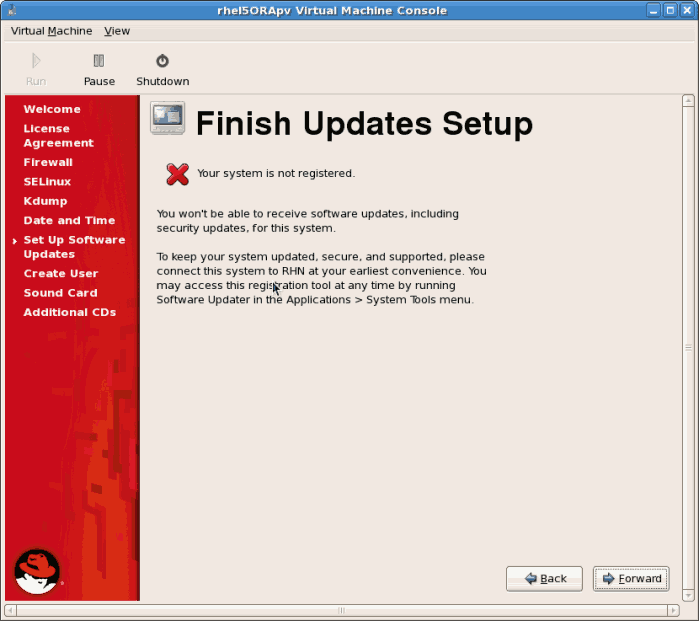
  21. Set up software updates. If you have a fedora Network subscription or want to trial one use the screen below to register your newly installed guest in RHN.
    Click Forward to continue.
    1. Confirm your choices for RHN.
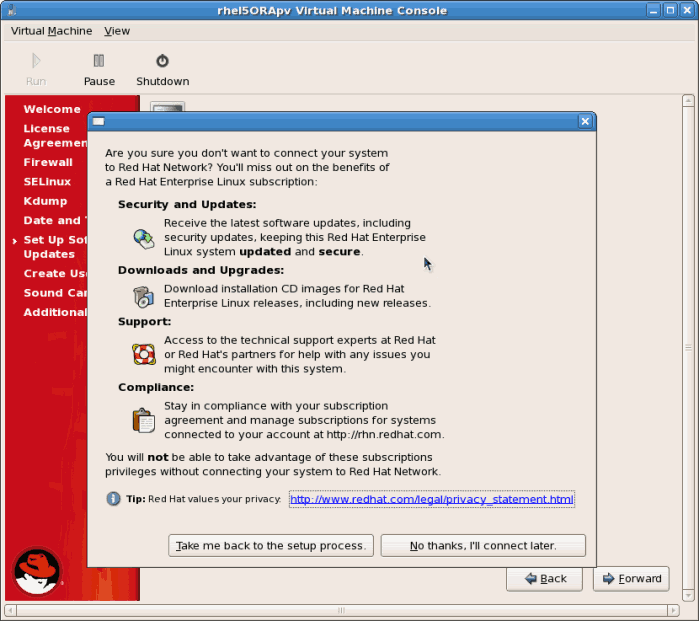
    2. Once setup has finished you may see one more screen if you opted out of RHN at this time. You will not receive software updates.
      Click the Forward button.
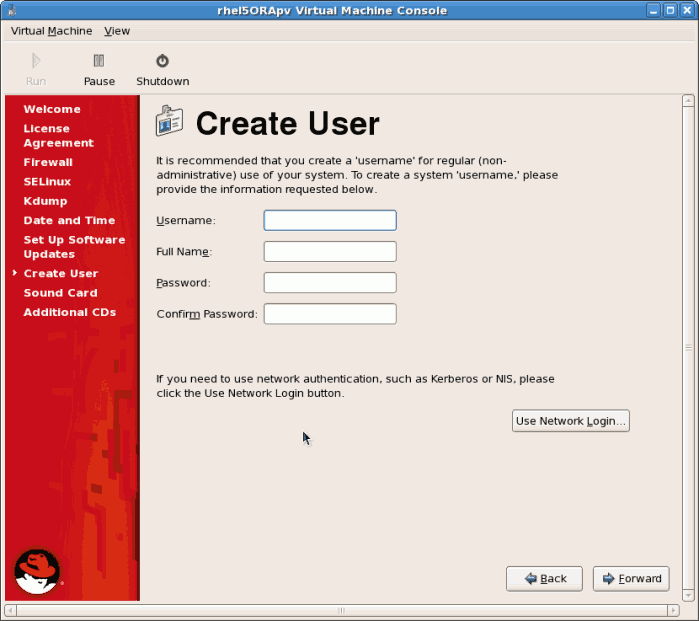
  22. Create a non root user account. It is advised to create a non root user for normal usage and enhanced security. Enter the Username, Name and password.
    Click the Forward button.
  23. If a sound device is detected and you require sound, calibrate it. Complete the process and click Forward.
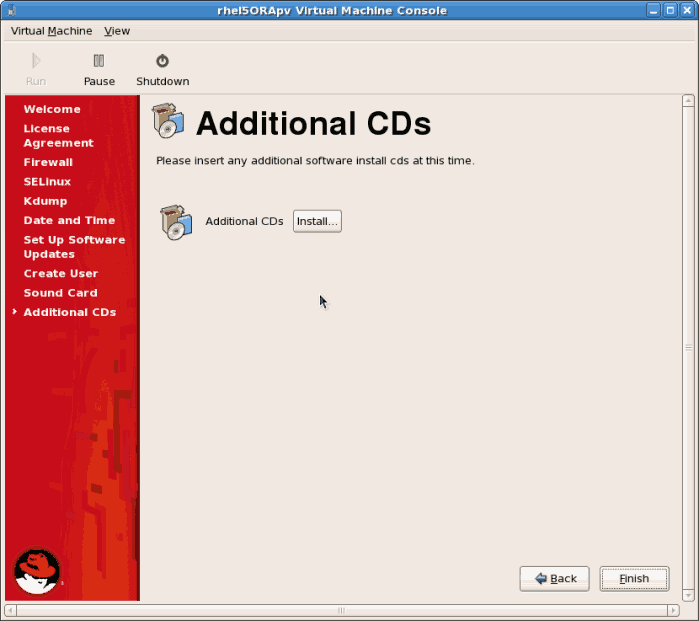
  24. You can to install any additional software packages from CD you could do so on this screen. It it often more efficient to not install any additional software at this point but add it later using yum. Click Finish.
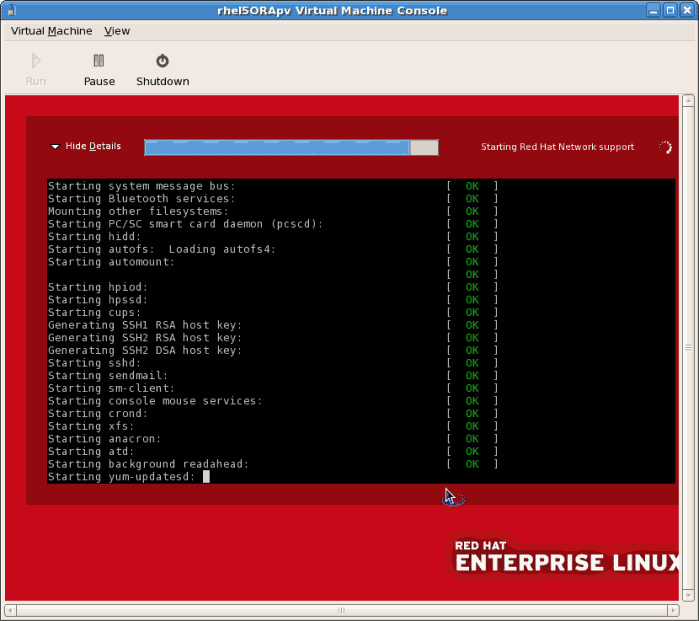
  25. The guest now configure any settings you changed and continues the boot process.
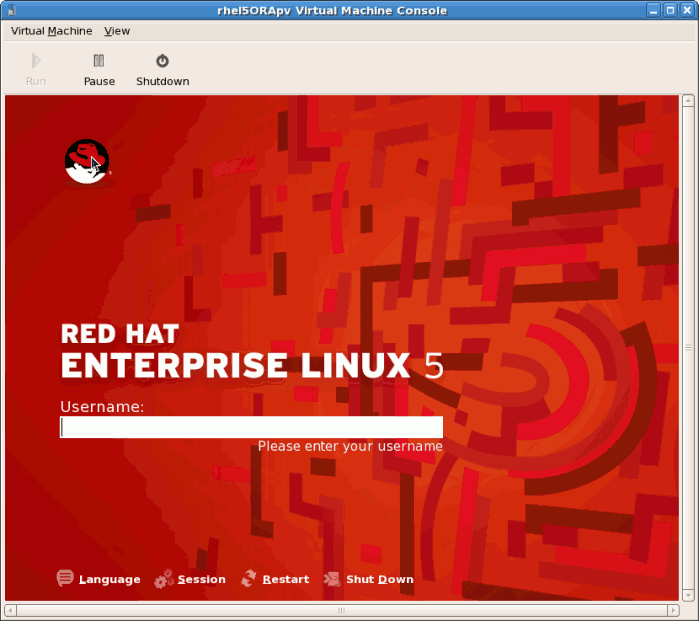
  26. The Red Hat Enterprise Linux 5 login screen displays. Log in using the username created in the previous steps.
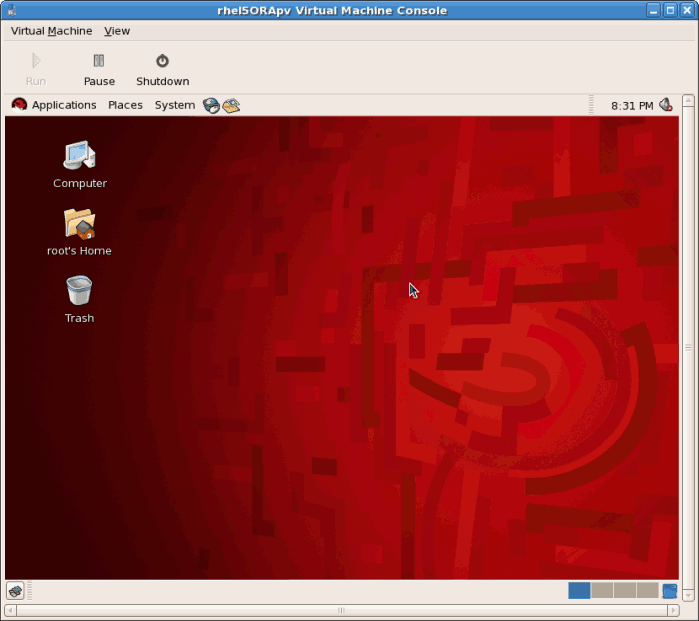
  27. You have now successfully installed a para-virtualized Red Hat Enterprise Linux 5 guest.