To connect TortoiseCVS to Fedora Translation Project CVS repository, you need to first setup the environment. These steps only need be done once. Right-click in Windows Explorer, choose CVS => Preferences… as shown in Figure 13.
In Preferences popup window, click the Tools tab. Add the parameter –i <Your Private Key> as shown in Figure 14. <Your Private Key> is the private key you generated and saved on your computer. Its corresponding public key has been used to apply the Fedora account in Figure 10.
The next thing needs to be setup is Network compression (as shown in Figure 15), which will effectively speedup checkout process. Set 9 - Best for best compression if you have a powerful CPU.
Press OK when you're done. Now you are ready to download files from the Fedora server.
To download files from the Fedora server for the first time, it is important to tell TortoiseCVS where to find them. Again, these only need to be done once. The information are in the email sent to you when your account is activated. You may refer to the following example, but don't forget to change 'snowlet' into your own username.
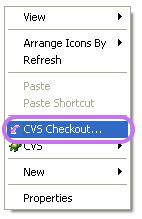
To start this, right click in Windows Explorer, choose CVS checkout (also referred as "cvs co"). See Figure 16.
![[Note]](./stylesheet-images/note.png) | Note |
|---|---|
Sometimes CVS checkout menu just doesn't appear. Try to perform this action in "C:\" root directory. | |
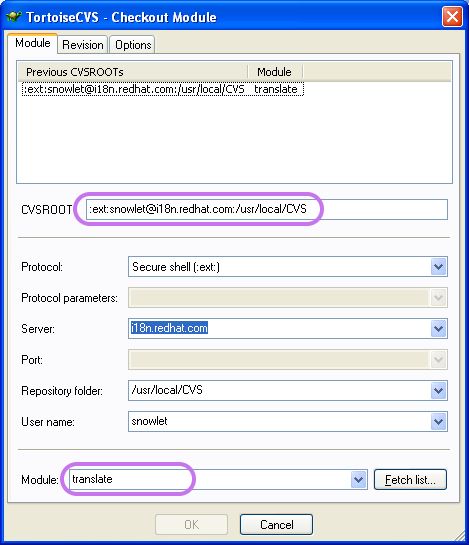
You can find the CVSROOT in the email Fedora had sent you. The information in Figure 17 is for your reference only. Don't forget to change the User name: field to match your own account. The module for Fedora translation is translate.
Press OK will lead you to Figure 18.
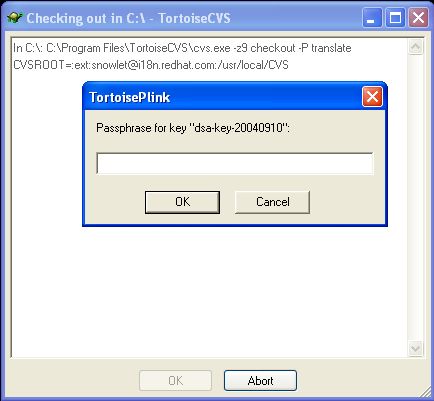
Here, TortoiseCVS is trying to connect Fedora CVS repository to get all the files needed. Your passphrase of your private key is required before you go on. Press OK after you input the passphrase.
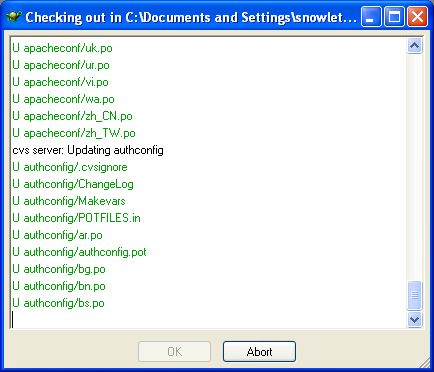
TortoiseCVS is downloading files from Fedora server (Figure 19). It's time to take a break before we go on to the next screen.
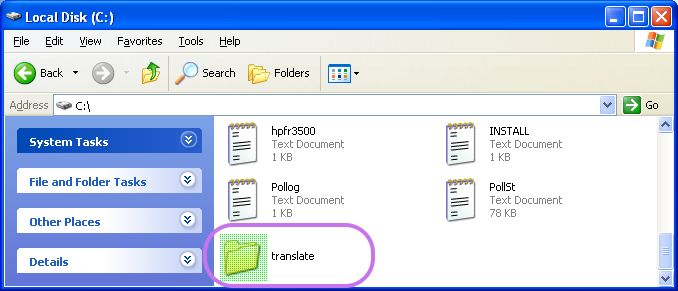
Done! You'll find a folder called translate that contains all the files for different locales and packages (Figure 20).
To edit these files, you can use plain text editor, or specialised po file editors, such as poEdit. The following section will discuss about this tool.


