Fedora can be used to send electronic mail and communicate in real time with people around the world. By default, Evolution is used to send electronic mail (email), and Gaim is used to send instant messages (IM).
Evolution is more than an email program. It is also a personal information manager. You can maintain a calendar, manage a list of tasks, and keep an address book of contacts.
Gaim is an instant messaging program (client) that can access MSN, AOL, Yahoo!, Jabber, and other IM and chat networks.
![[Note]](./stylesheet-images/note.png) | Accounts must already exist |
|---|---|
Gaim requires an existing account on each of the IM networks, created via the normal account creation process. For example, Gaim cannot be used to create a Yahoo Instant Messenger account. Instead, visit http://messenger.yahoo.com to set up the account, then access it using Gaim. |
This information is specific to using Evolution on Fedora. Additional documentation for Evolution is available at:
http://www.gnome.org/projects/evolution/documentation.shtml
To start Evolution, select Applications > Internet > Email from the menu panel, or use the application launcher icon from the menu panel:
Running the software for the first time displays the Evolution Setup Assistant wizard, which is used to configure an initial email account. The first screen displays a welcome message. Click Forward to bring up the next screen, titled Identity.
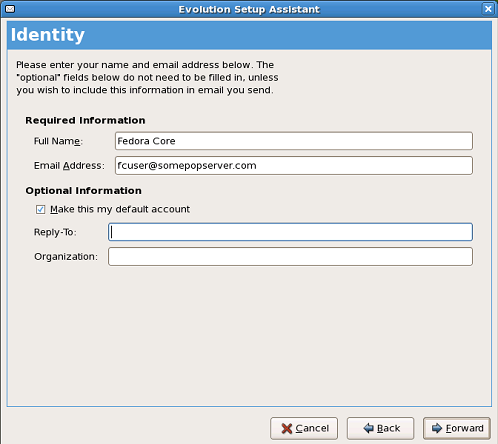
Identity is for configuring the initial values relating to personal email accounts. The screen contains fields for required information, including Full Name and Email Address. Beneath this is Optional Information, which has a Reply to value, should the reply address be different to that entered in the Email Address. This area also allows the user to add an Organization name. Once completed, clicking Forward continues to the next screen.
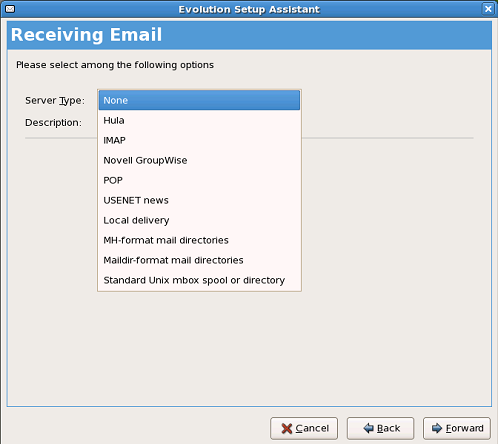
The next screen is Receiving Email, which is for configuring the retrieval settings for the initial email account. The user must choose the type of server from a drop down menu. This information is supplied by your internet service provider (ISP) or email administrator. By default, Evolution allows the following to be configured: None, Hula, IMAP, Novell GroupWise, POP, UseNet, Local Delivery, MH-format, Maildir-format, and mbox spools.
![[Tip]](./stylesheet-images/tip.png) | Most popular formats |
|---|---|
The most popular mail formats are POP and IMAP. |
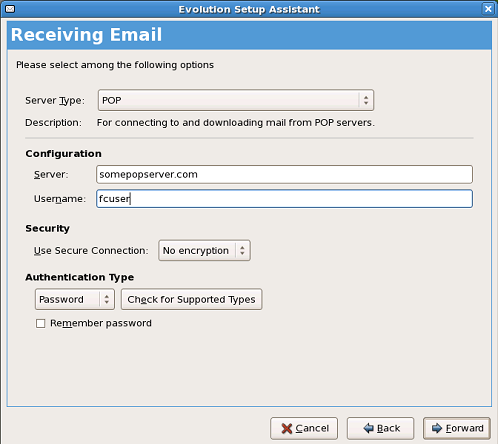
Once an option is selected, other fields become active that need to be considered. Most users require either the POP or IMAP server type to be selected. Selecting one of them brings up fields for Server and Username, as well as security settings. This information is available from the ISP or administrator for the email account.
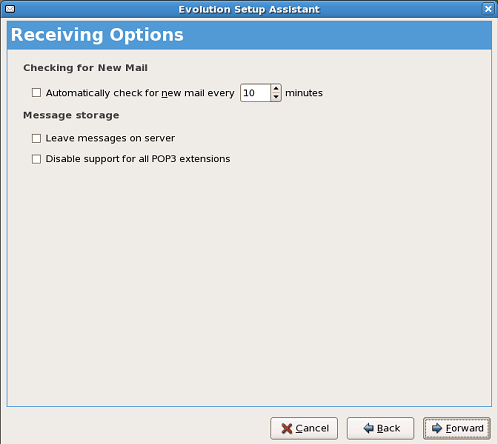
The next screen, Receiving Options, allows further configuration for incoming email. Automatically check for new mail every X minutes polls the server at set intervals. Leave messages on server prevents the mail client from downloading messages and removing them from the server. Disable support for all POP3 extensions is only needed in a small number of cases.
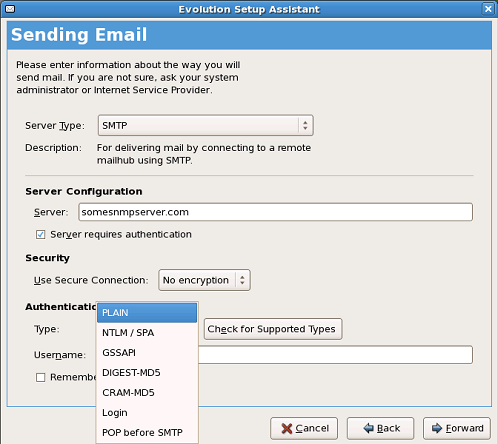
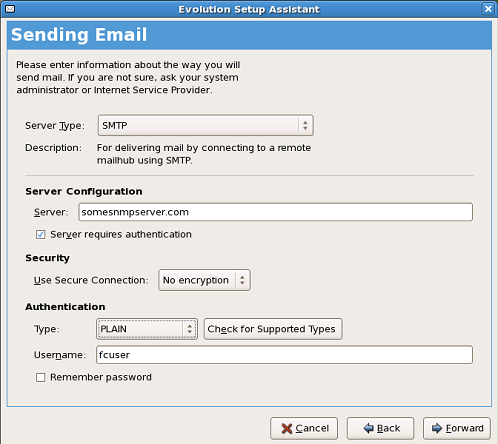
The Sending Email screen is for configuring servers and settings for outgoing messages. The user may select SMTP or Sendmail; SMTP, or simple mail transport protocol, is most common. Server Configuration requires a hostname under Server and is where potential authentication settings are entered. These settings, when used, are provided by the ISP or administrator for the email account.
In this example, the server type is SMTP and the authentication method is PLAIN. The username fcuser is used for server authentication.
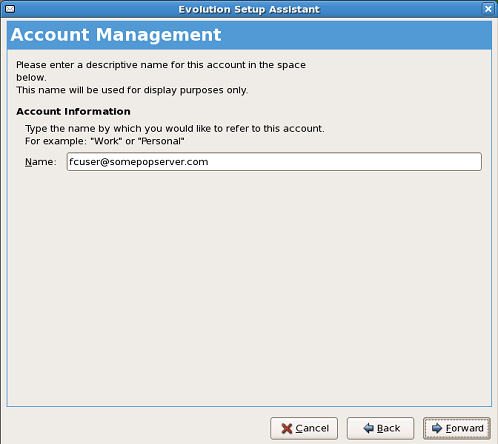
Account Management contains a single field for the user to name the account for easy identification. Often this is a simple description of the email account, such as Work Email.
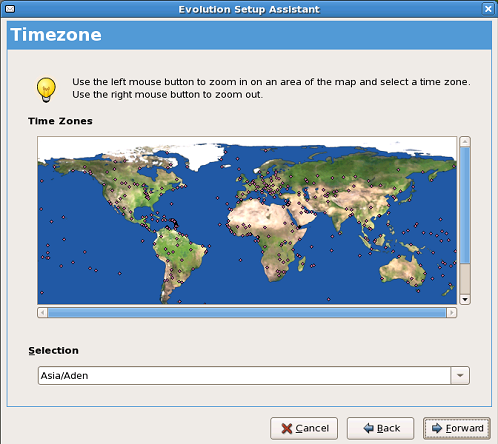
Select a timezone in the Timezone screen.
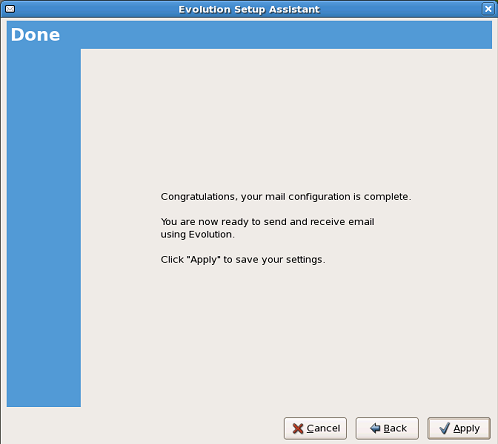
The final screen, Done, indicates that the account setup is complete. Clicking on the [Apply] button completes the setup process.
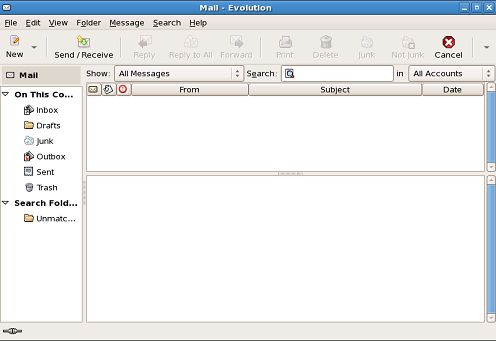
This completes the initial setup and enters the user into the main Evolution mail client.

